Wherein Ben endeavors to explain one of his methods for inlaying non-ferrous metals into steel.

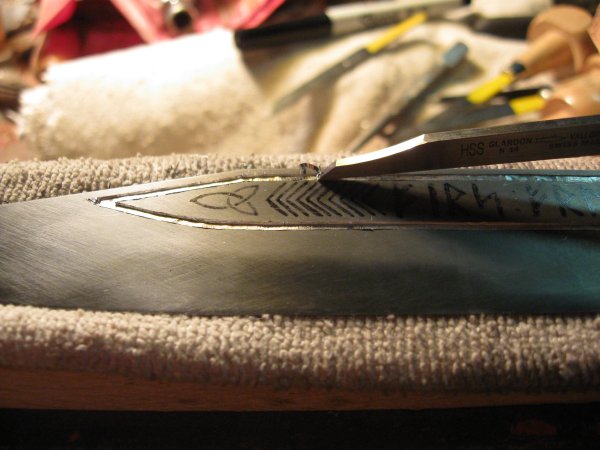
The first step is to mark the pattern on the steel. I like to do the layout in pencil.
Then I go over it in pen.

The gravers I use are (top to bottom):
1/8in flat, 1/16in flat, 3/64in flat, 1/16in V graver, knife graver, and round punch.
For most of the work I drive the gravers with a hammer.
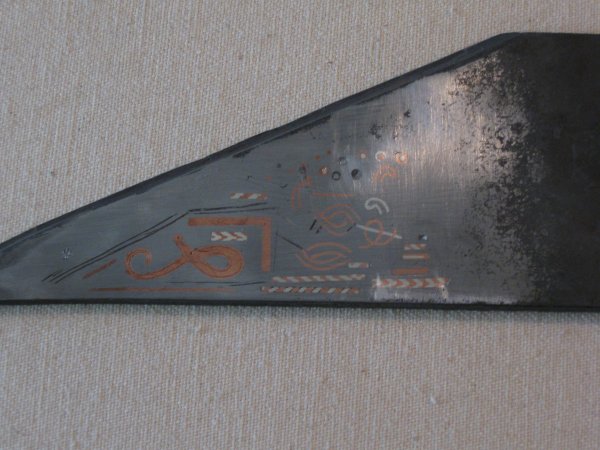
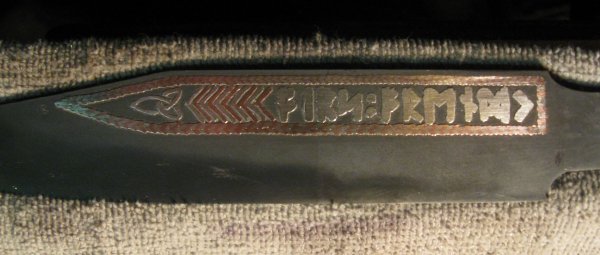
This shows the test piece that I did to try the techniques for this blade.
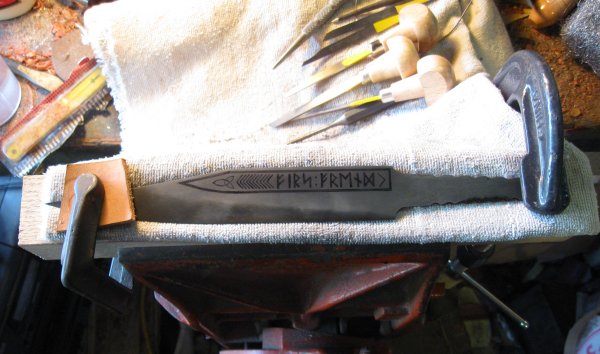
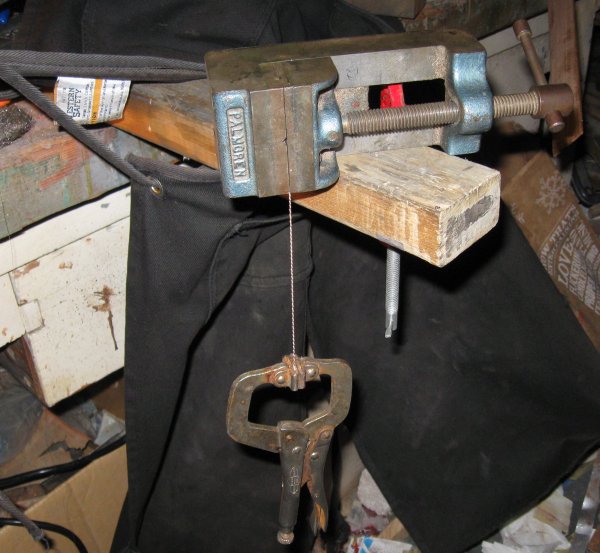
Here is the clamp set-up I use. The 2x2in oak board is held in the vice and
the C-clamps hold the blade. I use a towel for padding to help prevent
scratching and to further secure the blade.
I use the 1/8in graver to cut the channel for the twisted wire border.
Different patterns can be achieved by varying the depth of the cut.
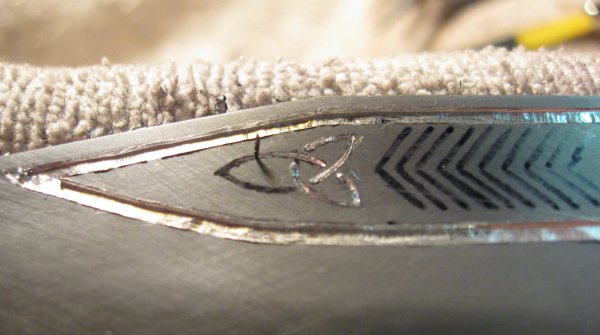
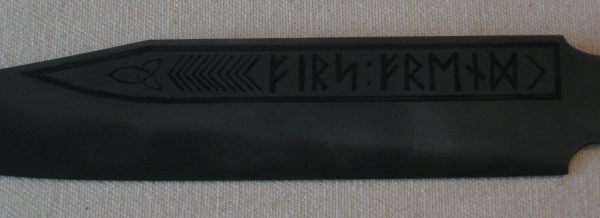
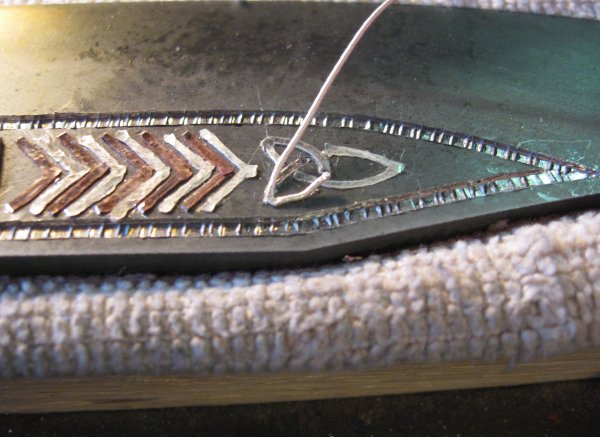
Next, using the V-graver, I engrave the trinity knot and herringbone lines.
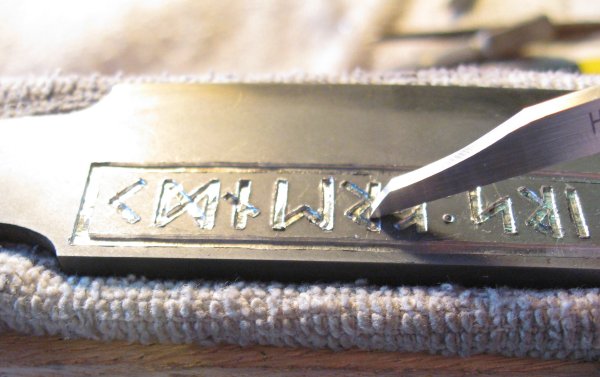
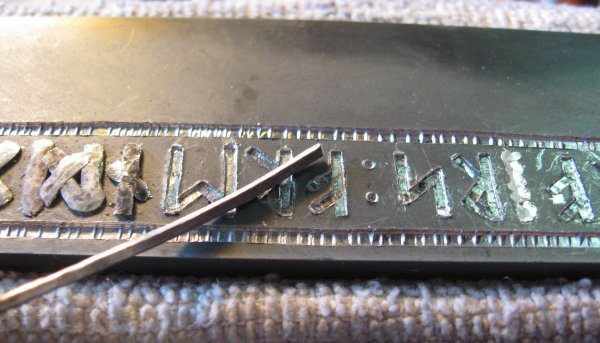
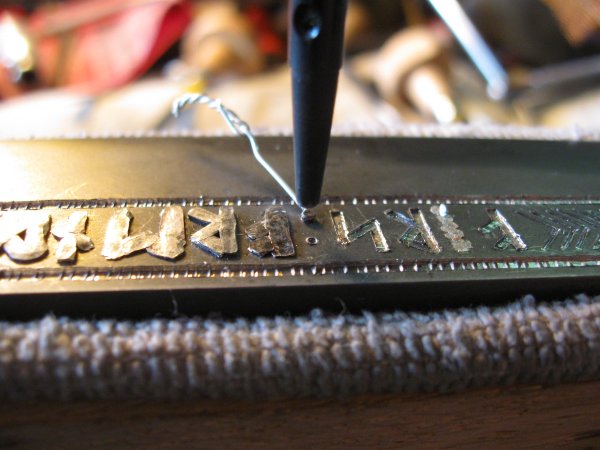
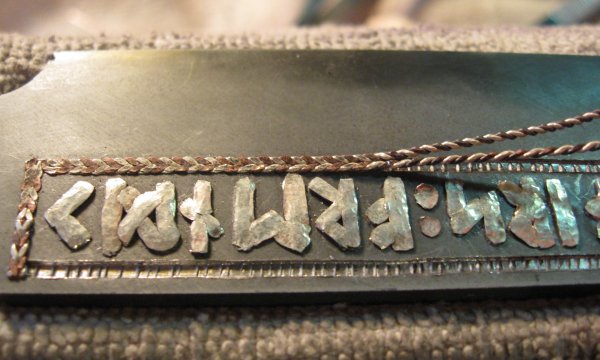
I cut the runes using the 3/64in flat graver.
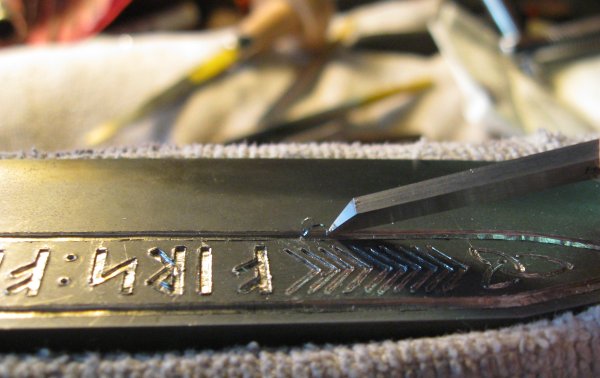
All the areas to be inlayed must be undercut or the inlay will work loose.
I do this on the longer lines with the knife graver held at an angle.
For the shorter lines I use one of the flat gravers to undercut the edges.
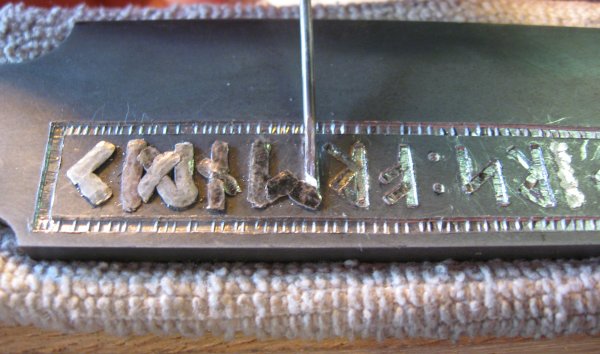
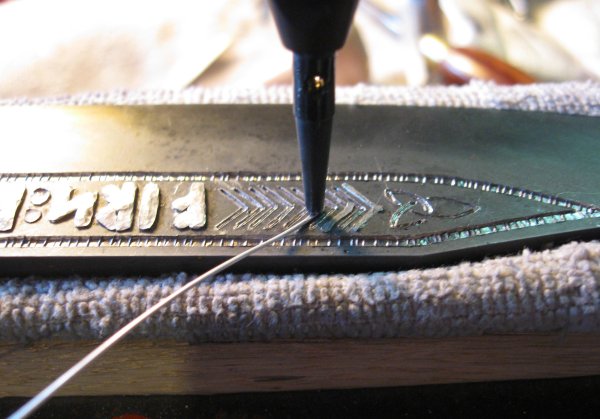
The undercutting is the most critical part of the process. Done right, the
rest is easy and the wires fly into the grooves. Done wrong, the wires will
not stick and must be scraped out and the undercut redone.
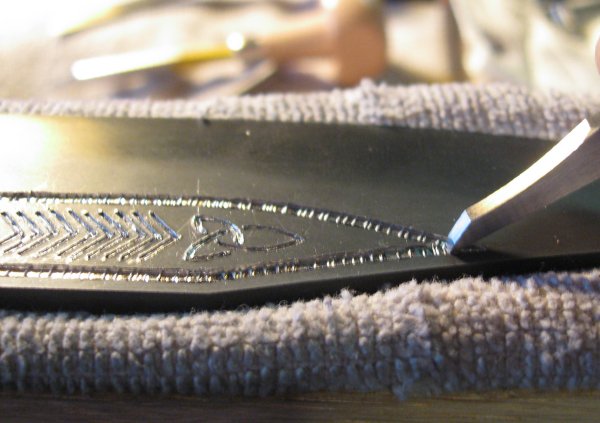
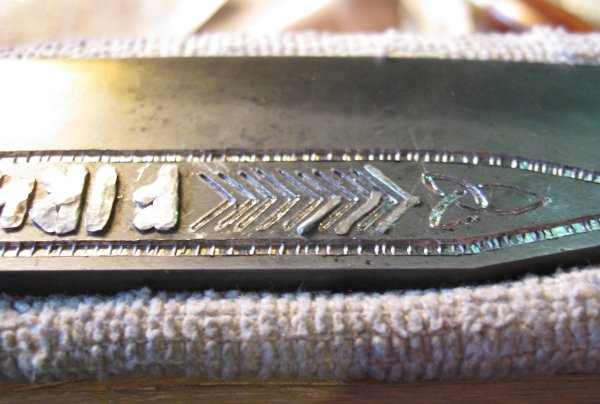
The undercut notches on the bottom of the wider channels help lock the wires down.
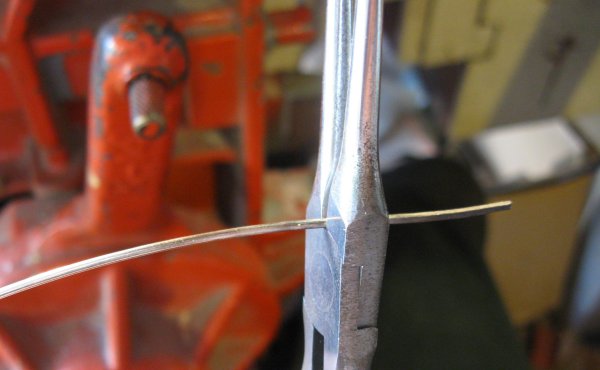
For the runes I first draw the wires out and square them. I use pliers
for this because I don't have a draw plate.
Here you can see the wire drawn to the proper width. All wires must be
annealed to dead soft by heating up to red and quenching in water.
The wires must fit very closely or gaps will be visible in the finished piece
I use the 1/8in graver to cut the wires to size.
For the dot inlays I form a bead on the end of the wire using a torch.
Then I hammer them into place with a flat-end punch.
For the thinner wires I start at one end, hammer them in, trim them with a graver...
...and hammer them down all the way.
For lines with sharp corners it helps to work from the corners out.
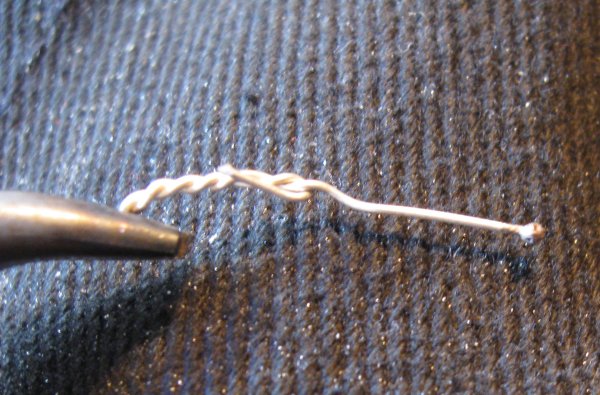
This is my set-up for twisting the wires. They must be annealed several times during
the twisting and again at the end before inlaying them. It also helps to square them.
The two sets of twisted wires must be inlayed at the same time. Setting about a
half-inch at a time helps keep them even. By changing the alignment of the twists
different patterns can be formed.
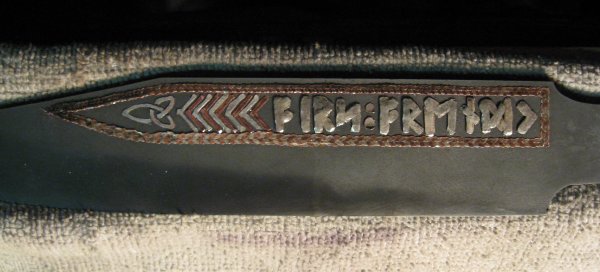
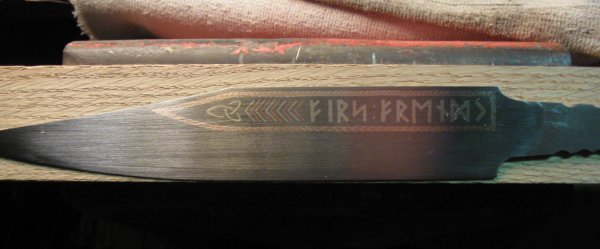
Here is the blade after all the wires have been inlayed.
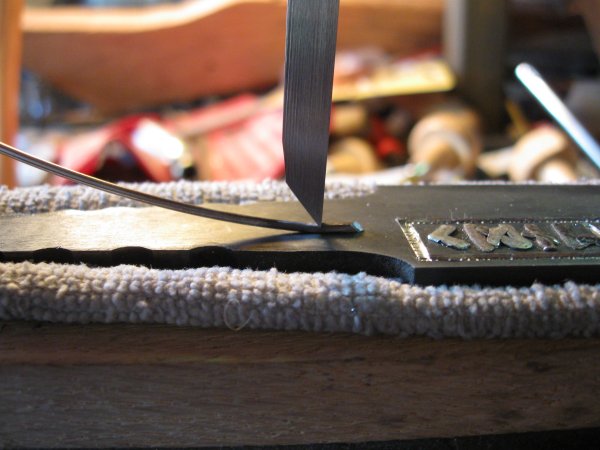
I then file off most of the extra metal.
Finally the inlay is taken down flush with the rest of the blade using 220gt sand paper
and a hardwood sanding block.