Home About Information & How To's Products Gallery Links Contact
Instructions for a Wool Shepherd's Sling
This sling design is a basic wool shepherd's style sling, and while not copied from any particular sling from an actual herding culture, the elements of the design are adapted from many similar slings from around the world.
Tools and Materials
For this sling you will need:
Approx. 29-30 yards of heavy wool yarn*
Scissors
A large needle
A wooden frame or small loom with weights (optional, see instructions)
* This is for a 24 in. sling. You may need more or less depending on how long you make your sling, and what type of yarn you use. I used heavy rug wool for this sling which runs about 260 yards/pound. If you have thinner yarn, you can use several pieces for one strand. Below are links to some of the places where heavy wool yarn can be purchased:
Halcyon Yarn
Yarn Barn
The Woolery
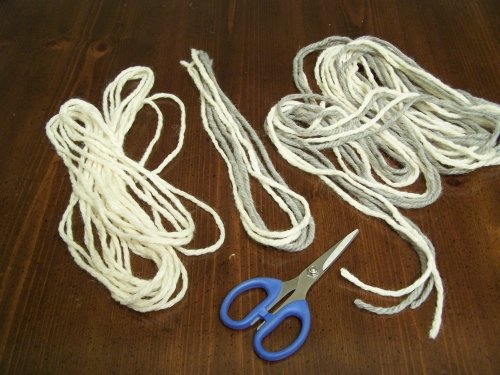
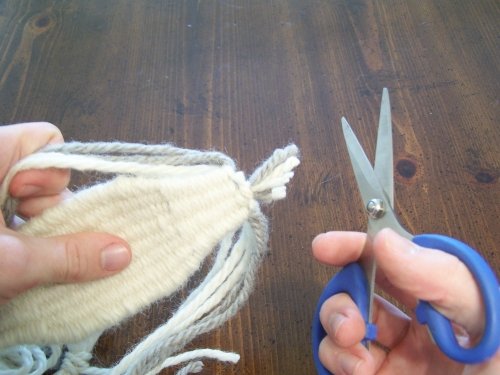
Begin by cutting out the lengths of yarn you need. For a 24 in. sling like this one you will need the following lengths:
4.5 yards: cut 2 of each color (or 4 of one color if you want single color cords).
8.5 yards: cut one of these to weave the pouch with.
24 in.: these are optional, and are added to the pouch to make it thicker. Since they will be woven over, the color is not important.

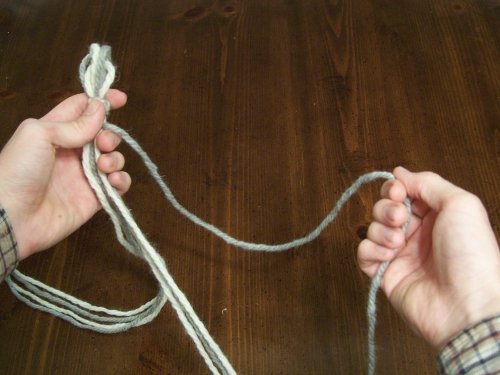
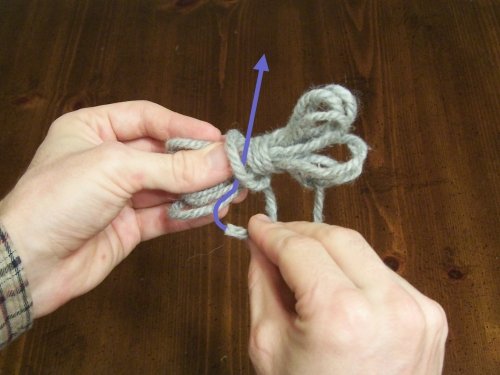
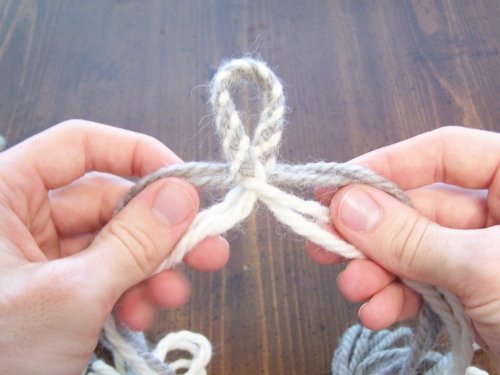
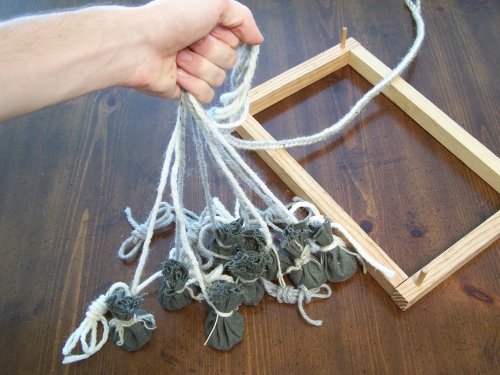
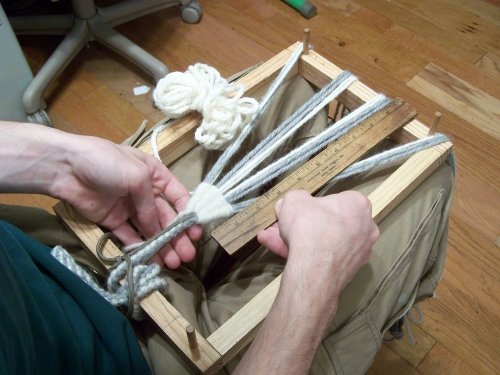
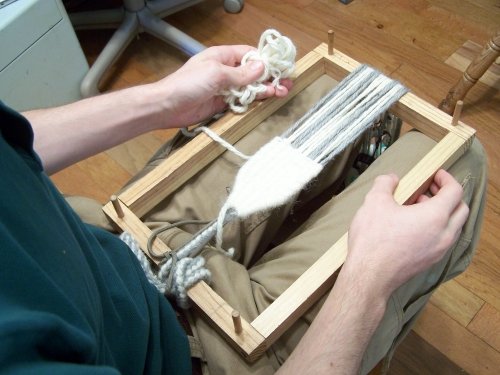
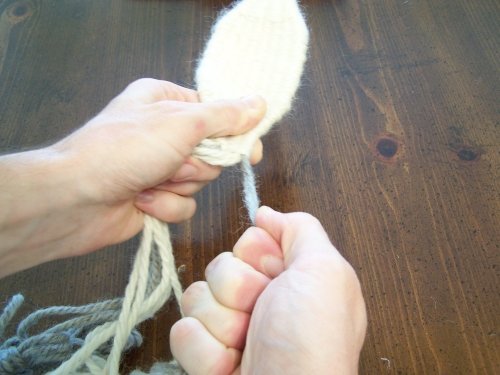
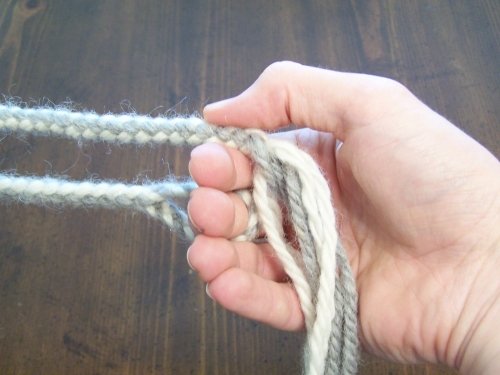
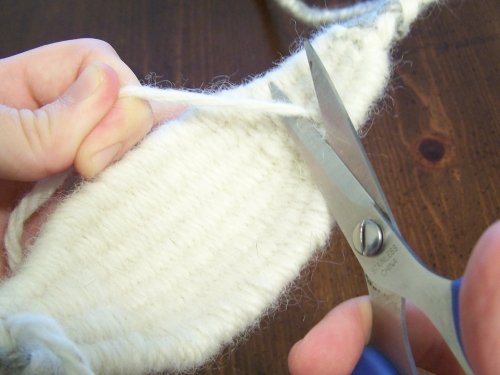
The sling is begun at the finger loop, so take the four 4.5 yard pieces, and find the center of each of them by holding all eight ends in one hand and running your other hand along the yarn until you locate the centers of the pieces.
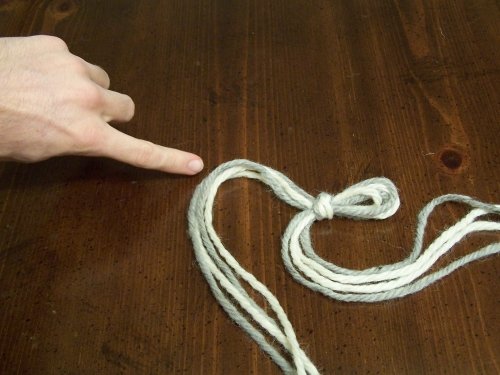
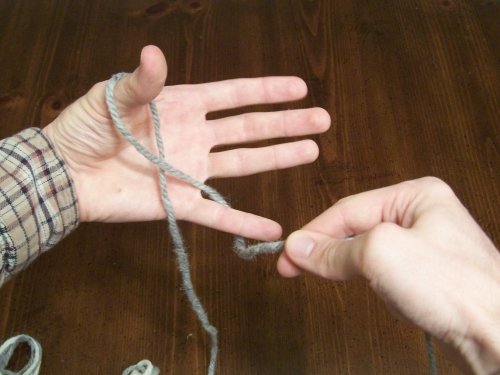
Tie the four pieces in a slip knot a few inches from the center, which in the picture is where I'm pointing.
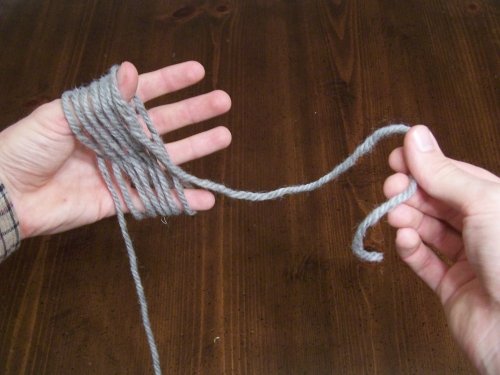
Braiding the loop and cords can be easier if the strands of yarn are tied into butterflies to help keep them from getting too tangled up. To make a butterfly, take one strand and untangle it from the others.
Begin wrapping it around your thumb and little finger in a figure-8 manner.
Continue wrapping in a figure-8 until you have about 8 inches of yarn left.
Wrap the end around the coil as shown.
Wrap until you have just a short tail left, and then tuck it under the last wrap as show by the arrow.
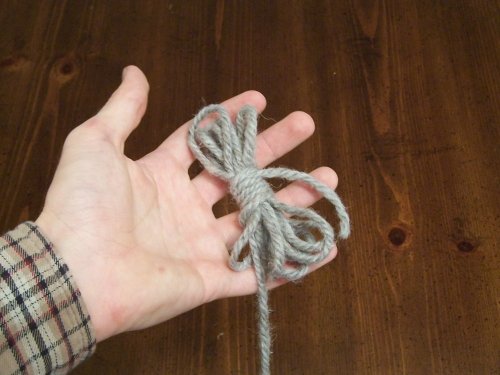
Here is the completed butterfly.
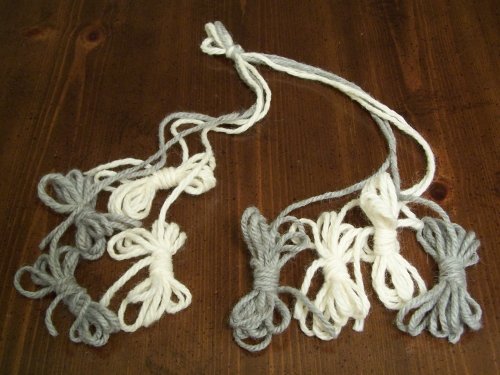
Once all the ends are tied into butterflies, you are ready to begin braiding.
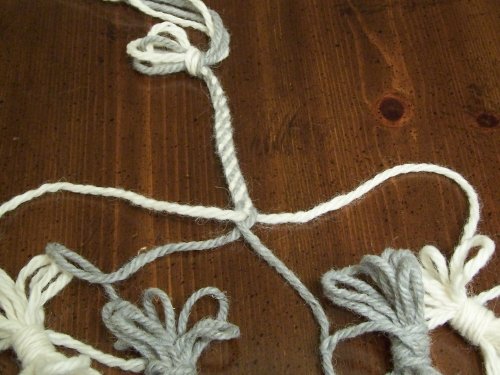
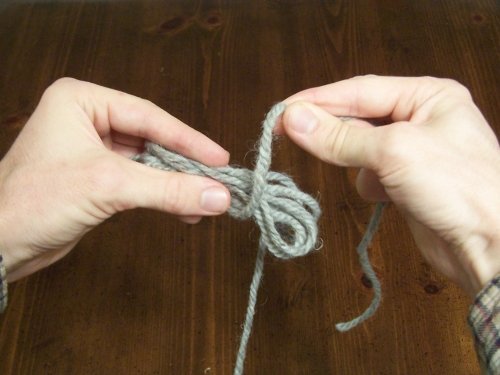
Beginning at the slip not, and starting towards the center of the strands, braid 3-4 inches using a 4-strand braid. Here I used this braid: 4-strand flat braid #1.
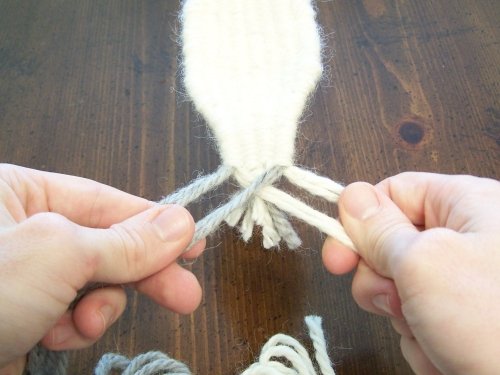
Untie the slip knot, and bring the two ends of the 4-strand braid together to make the loop. Group the strands in groups of two, keeping like colors together. The cords are braided with 4-strand round braids, and you can start the braid right from this point. However, depending on what color pattern you want for the braid, you may have to change the position of the strands before beginning the braid. With this sling, I wanted to do a sided pattern, so I had to swap strands before I started, as shown in the next few steps.
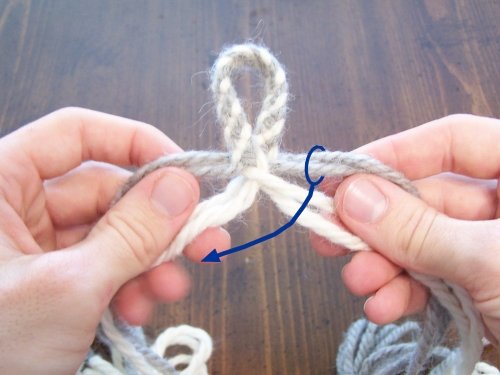
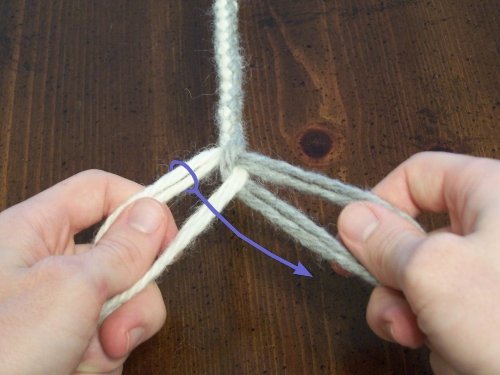
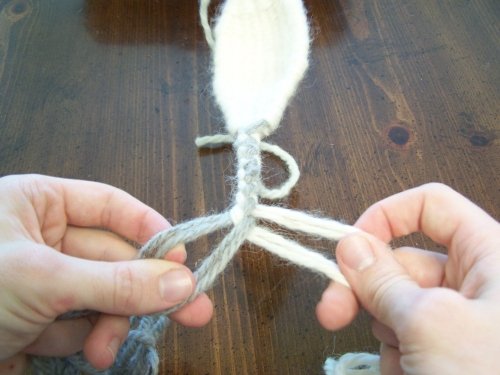
To set up for the sided pattern, bring one of the right-hand strands over to your left hand.
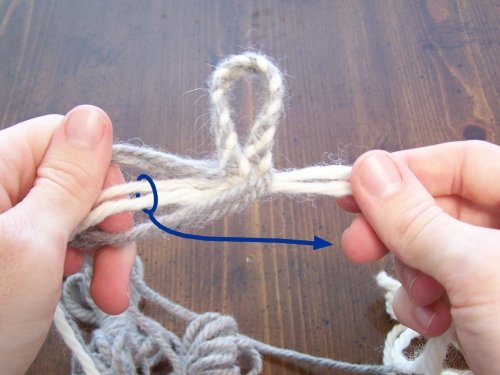
Next, bring the left-hand strand of the opposite color of the right-hand strand you just crossed, over that strand and into your right hand.
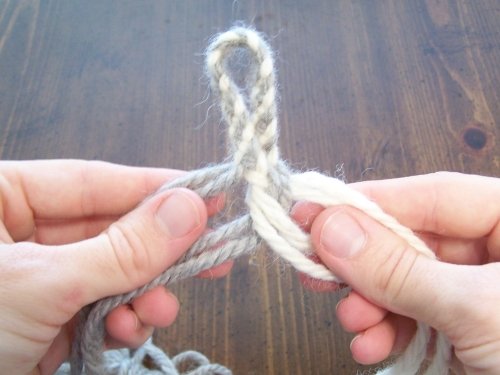
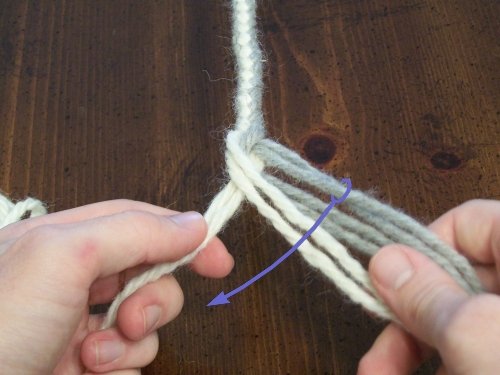
Now each hand has two of strands of one color. At this point, braid the strands together in a 4-strand round braid

Braid until the length of the loop and braid is about 2.75 inches less than the length you want the sling. For this 24 inch sling the length is 21.25 inches. The reason for the is that the pouch is about 5.5 inches long, so the braid is stopped half that distance from the sling's finished length.
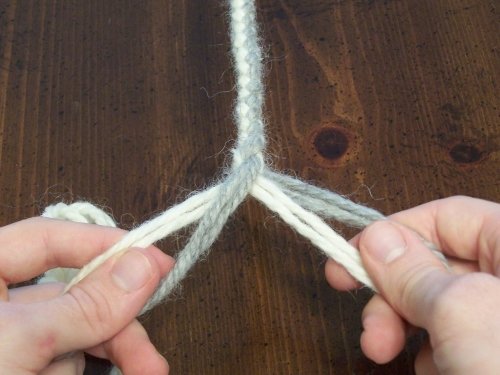
Although it is not essential and can be skipped, I like to even up the back of the braid before starting the pouch. To do this, turn the braid over so the right hand holds the strands that the left hand was holding and vice-versa. Take the strand that would have been the next to be braided (in this case the outside left-hand strand), and pass it over to the other hand.
Now take the outside strand of the hand with 3 strands and pass it over to the other hand.
Here is what it looks like with the back strands evened up.
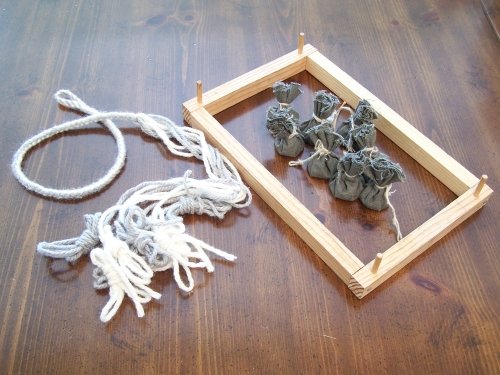
It is possible to weave the pouch for this type of sling without any special loom, but for these instructions, I use one in order to show how a simple wooden frame can greatly aid in the weaving process. For this type of pouch I like to use a weight tensioned loom, and for this you will need weights, of about 75 grams or 2.7 ounces for each strand. Pictured are small cloth bags filled with lead shot, but any small objects of the proper weight will work fine. Usually, I use my braiding table bobbins, because I braid most of my slings on the table.
Tie the weights to the strands, making sure that there is enough length before to the weights to hang off the loom frame.
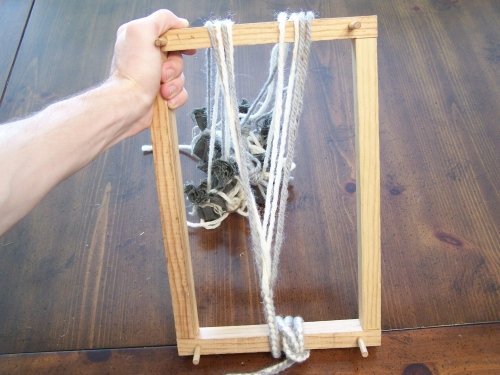
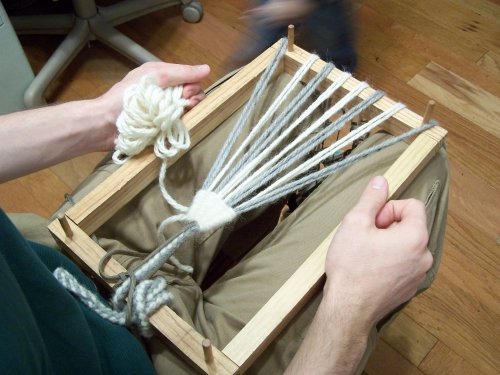
Tie the braid around one end of the frame, and let the weighted strands hang over the other end as shown. You only want a couple inches of the braid coming away from the end. This leaves plenty of room to weave the whole pouch.
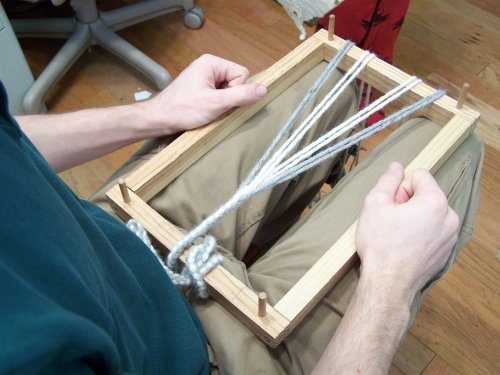
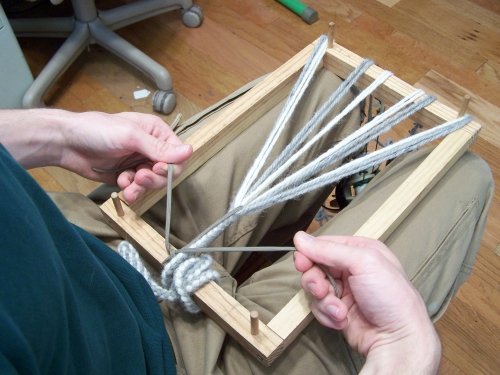
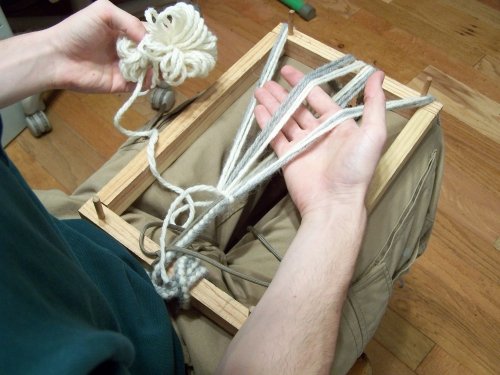
I find a comfortable way to weave with this type of loom is to hold it on my lap. When moving the weight tensioned loom around, the strands often get tangled up a little, so when you are ready to start weaving, separate the strands as shown. Where the colors are doesn't matter for the structure of the weaving, but it can be nice if they are organized as shown, because if the strands get mixed up, it is easier to sort them out if you know what colors went where at the beginning. It is possible, and will work fine, to start weaving the pouch at this point, and if you want to do that, skip down to where the weaving begins. However, with these instructions, I want to illustrate an option for adding extra strands in as warps for the pouch if you want to make the pouch a little thicker.
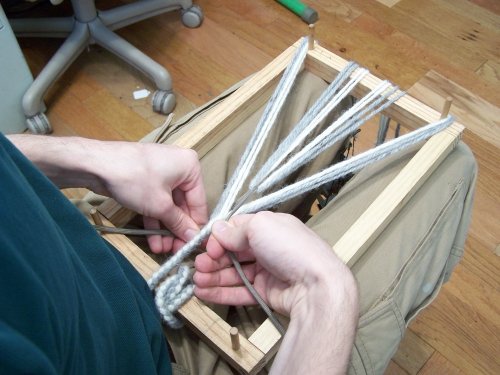
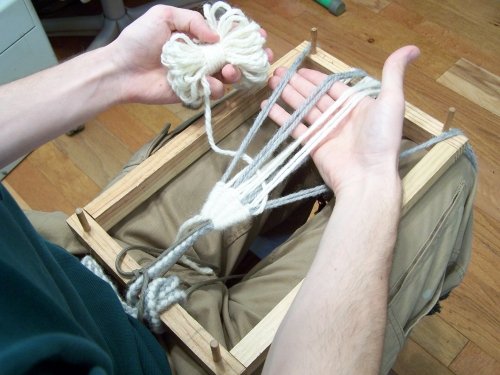
Take the 24 in. strands you cut out earlier, and attach a weight to each end of each strand. Fold the strands in half, and put a length of cord through the centers of the folded strands as shown.
Tie the cord around the end of the frame, pulling the new strands tight against the end of the braid. It can be a bit tricky to get it tightened just the right amount. You want the new strands to be firm against the end of the braid, but not so tight that the braid is pulled back and buckles with the force. I find it helps to tighten the cord until the braid just begins to move back, and then after I tie the knot the cord usually has loosened up just slightly so that the tension is right.
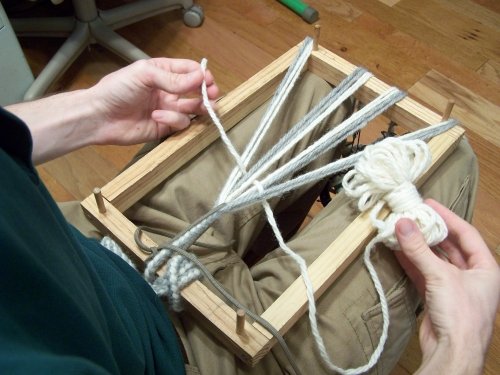
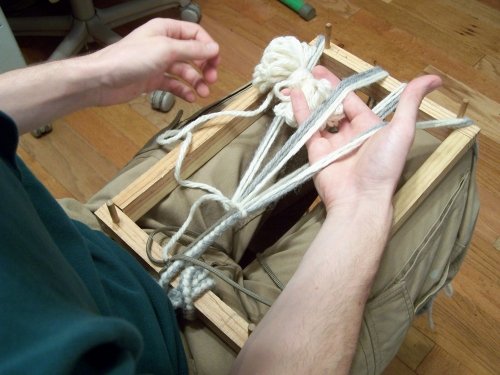
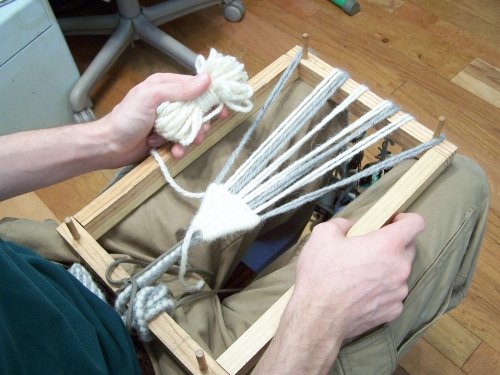
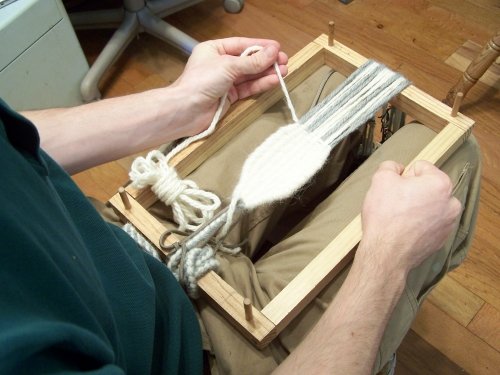
Divide all the warp strands into four groups of four strands. If you're not adding in extra strands, divide them into four groups of two strands. Take the 8.5 yard length of yarn, tie it into a butterfly and weave the free end through the four warp groups as shown. You want to leave several inches of yarn coming out the side so it will be easy to secure once the weaving is finished.
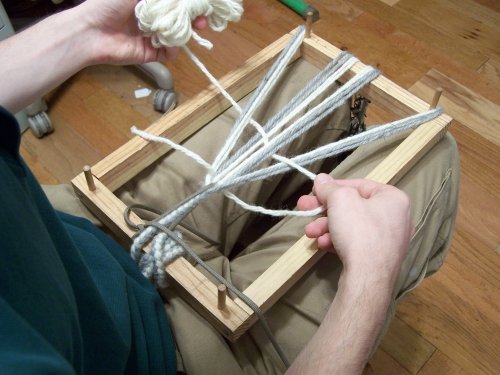
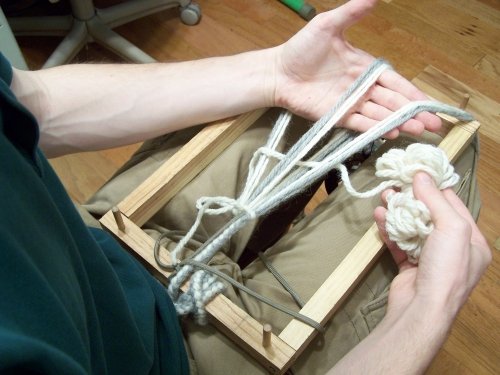
Now weave the butterfly of yarn through the warps to the other side.
Pull the weft yarn tight, and push it to the end of the braid. You want the yarn to be fairly tight at this point, but don't tighten it so much that it will not go over and under the warps.
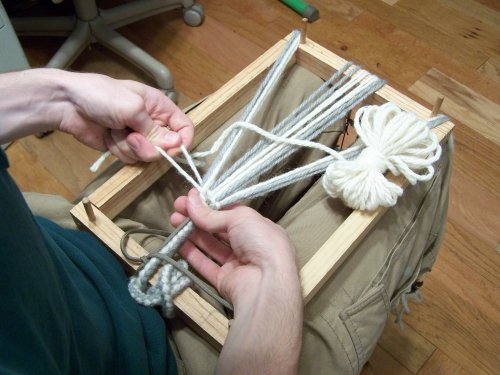
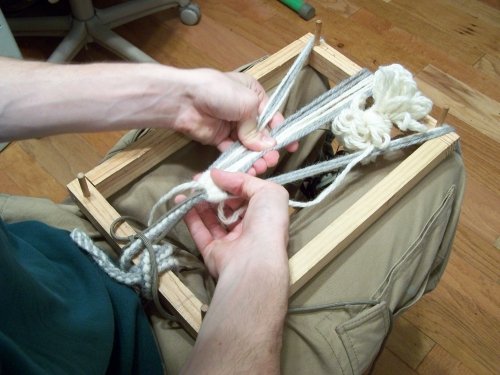
The weaving process is fairly simple, so I want to show the sequence of steps I have found speeds up the work for me. First, I insert my hand though the warps, going under-over-under-over and lift up a little on the two warps I went under.
Next I place the yarn butterfly in my hand and grip it with my fingers.
Then I place my free hand under the two warps and at about the same time I pull the weft through as shown.
To finish the sequence, I set the butterfly down, tighten the weft, and push it firmly against the rest of the weaving. It is important when making a wool pouch to push the weaving together pretty hard, so that you end up with a densely woven pouch. After I weave a few rows, I stop and push the weaving together again. By doing this often, you end up with a more durable pouch.
Continue weaving over four warps for about 1.25 inches. Although it is not essential, I've come to prefer to increase the width of the weaving through this section of the pouch. To do this, I pull each pass of the weft a little looser than the previous pass, but I still push it hard against the rest of the weaving. It also helps if the outside warps are spread apart at an angle.
Now, in order to expand the width of the pouch, divide the warps into eight groups of two strands, or eight individual strands if you didn't add warps.
The weaving sequence for eight warps is just an expansion of four warps, the only difference being that you pass your hand under four instead of only two.
Continue to push the weaving together tightly, and for about .5 inches of weaving, continue to increase the width of the weaving as shown.
Now for about 2 inches, weave at a continual width.
For the next 1/2 inch, in preparation to go back to four warps, begin to pull each pass of the weft tighter then the last. This will decrease the width of the weaving. Also, put all the warps together in the center of the end of the loom.
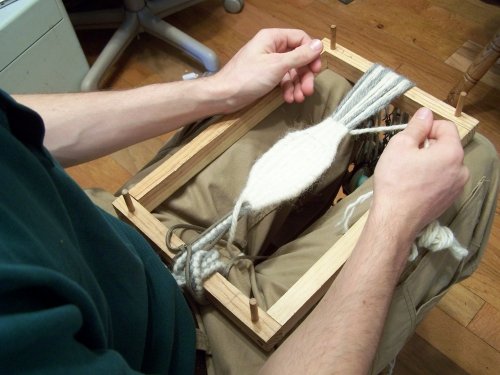
Once the total length of the eight-warp section is about 3 inches, switch to weaving over four warp groups, and do that for 1.25 inches until the whole pouch is approximately symmetrical.
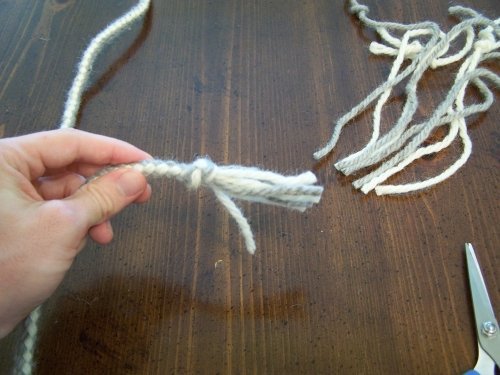
Take the pouch off the loom and take off all the weights. You will probably have to tie the eight braid strands into butterflies again if the have come loose. Note the tails from the beginning and end of the weft. They will be left as they are until the second cord is braided.
If you added in warps, now is the time to secure the ends of them. Tie a tight constrictor not around all eight of them. Then cut them short, but with slightly staggered lengths as shown.
If you want the pouch to be slightly cupped, pull on the strands that formed the outside warp or warp group on each side of the pouch. This will shrink the perimeter of the pouch and make it slightly cupped. It helps if you can remember what color the strands were.
The start of the second braid is done much like the first, so if you need to set up for a pattern, as in the picture, do so now.
Braid with a 4-strand round braid keeping the short ends of the added warps inside the braid as a core. It can be difficult to work over this core, so be extra careful at this stage.
Braid until the two cords are close to the same length. To locate the place where the braid should be ended, place the loop on you finger and hold the newly braided cord in your hand as shown. With you free hand, place you thumb in the center of the pouch and stretch the sling out. You want the end of the braid to be just past your thumb and index finger, as shown.

Tie the braid strands in an overhand not and pull it tight. With the thick wool, it is usually necessary to pull each individual strand tight to have a really secure knot.
Trim the ends off to the desired length.
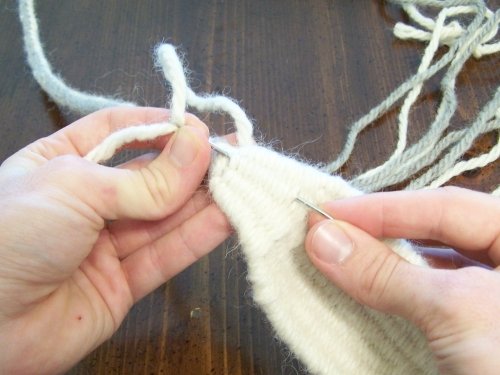
Now the last step is to secure the ends of the weft on the pouch. Take a large needle and thread it with the weft end. Sew it through the weaving, going along the warps.
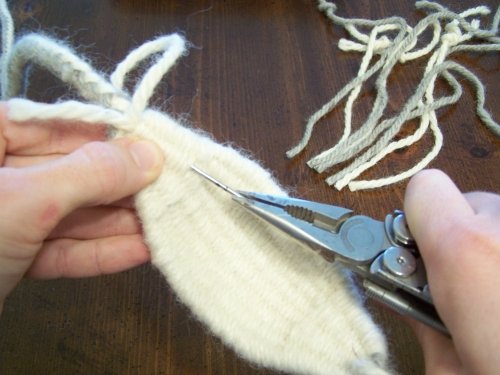
Often a pair of pliers is necessary to pull the needle through.
Pull the end through the weaving and trim it off right where it comes out.

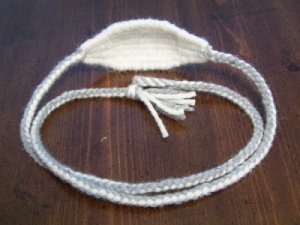
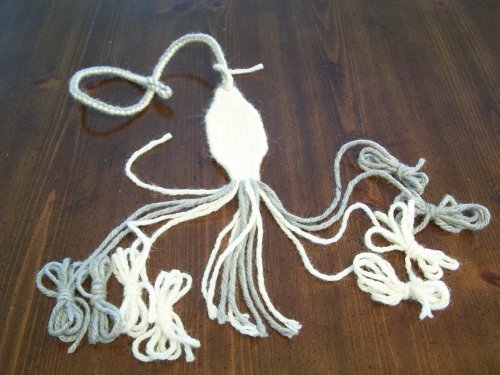
Once both weft ends are secured, the sling is finished.
"So David prevailed over the Philistine with a sling and with a stone..." I Samuel 17:50
Home About Information & How To's Products Gallery Links Contact
Copyright by Timothy Potter