Home About Information & How To's Products Gallery Links Contact
Tut Tutorial II
Contents:
Step 1: Warping the loom.
Step 2: Weaving the pouch.
Step 3: Tightening and finishing the pouch.
Step 4: Cords, loop, and finishing
Step 4: Cords, loop, and finishing.
In my first tutorial, the cords were made by twisting and plying, but I have come to prefer braided cords for this type of sling, so that is what these instructions will show how to do.
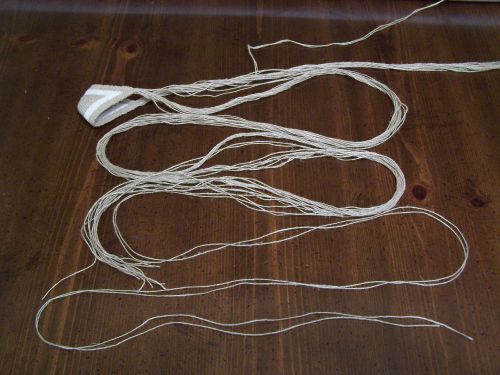
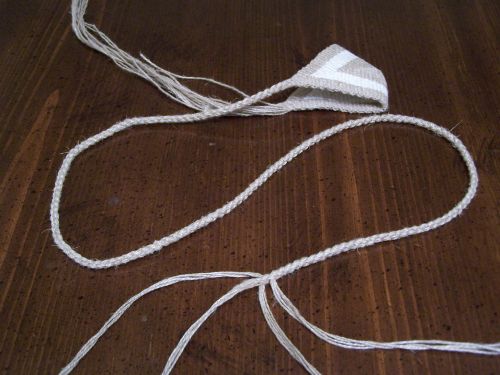
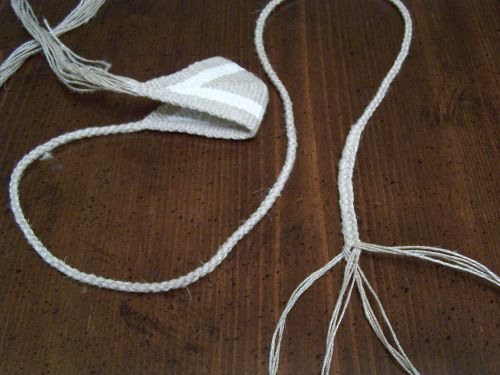
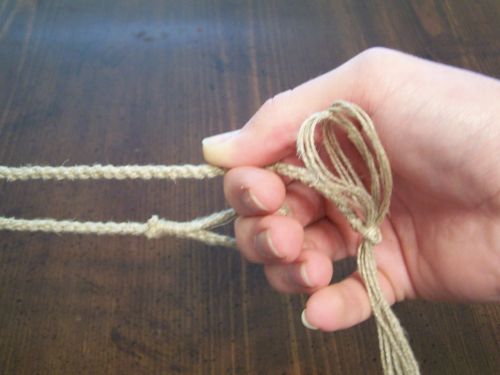
In this picture you can see what the sling looks like at this stage. In the foreground, you can see the two strands that made up the warp which are longer than the other cord strands. These can be cut off to be the same length as the other cords strands to make them easier to work with, or they can be left alone until the braiding is finished.

The 14 strands that are woven through the pouch combined with the two warp strand ends make a total 16 strands for the cords. The braid that I used in this case is a 4-strand round braid, so to prepare for the braid divide the strands into four groups of four strands each. To one of these, add the small weft tail. This will be braided with the group to which it is added into the cords to secure it.
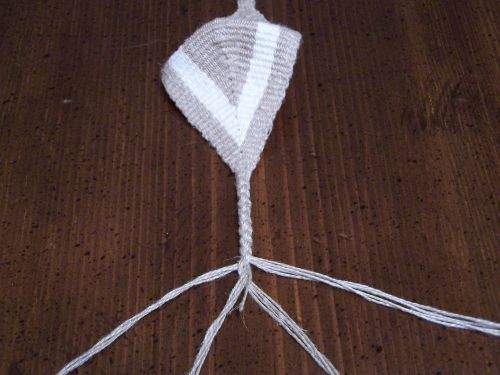
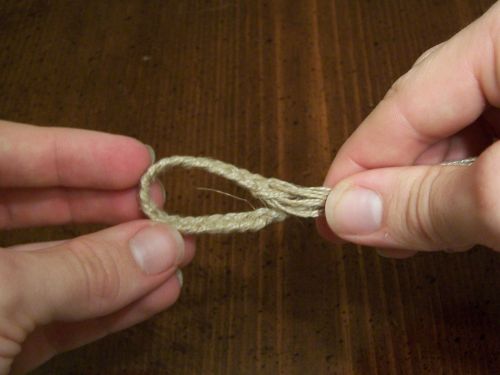
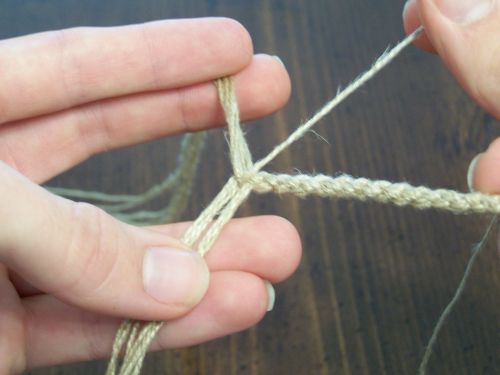
Braid the cords with a 4-strand round braid. If, when you've braided past the end of the weft, it is sticking out too much, simply trim it off close to the braid.
Continue braiding until the cord reaches the point you want the finger loop to start at.
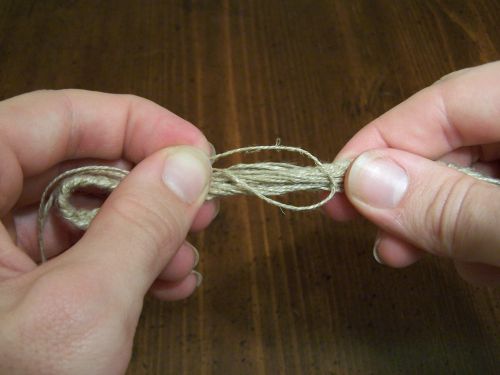
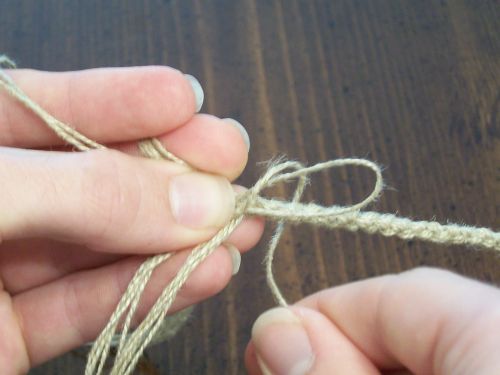
Change to a 4-strand flat braid and braid with it for about 3 inches, or whatever length you want for the finger loop.
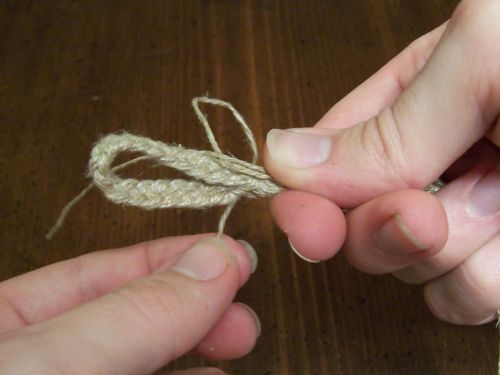
Now fold the flat braid portion around to form the loop.
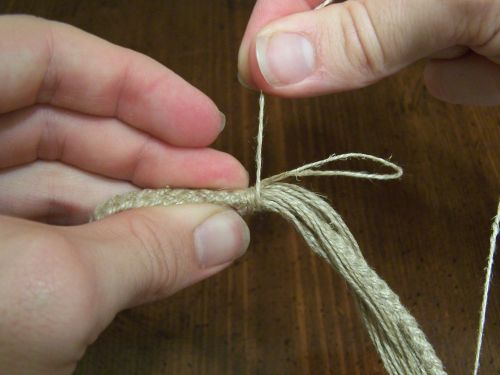
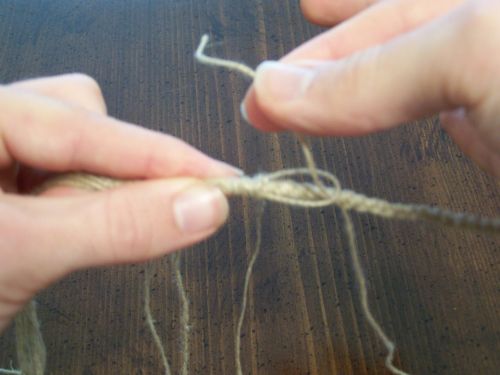
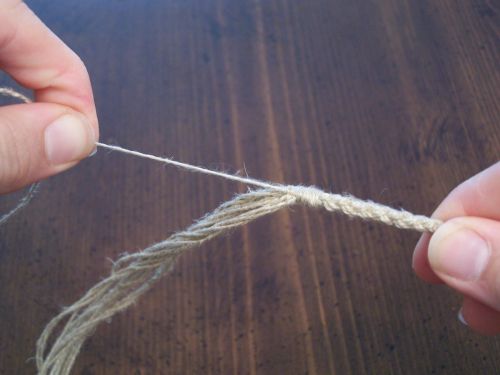
To secure the loop, cut a piece of linen about 1 foot long. Make a fold at one end of it and lay it against the base of the loop as shown.
Hold the folded string against the braiding and wrap the long end of your string around the braiding. Wrap it away from the finger loop.
Make sure that you wrap the string very tight or it will not be durable.
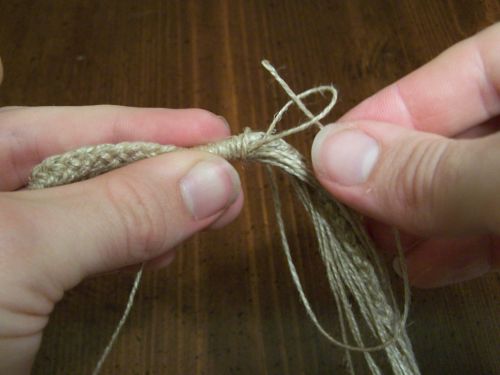
Wrap for about 1/2 inch and then put the end of the wrapped string through the loop made by the fold in the string as shown.

To tighten the whipping, pull on the end that is towards the finger loop. Pull until you see that the warpped string is secured inside the wraps.
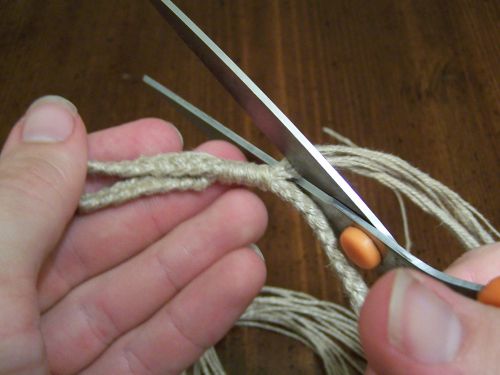
Cut the ends of the whipping and the extra cord strands off.
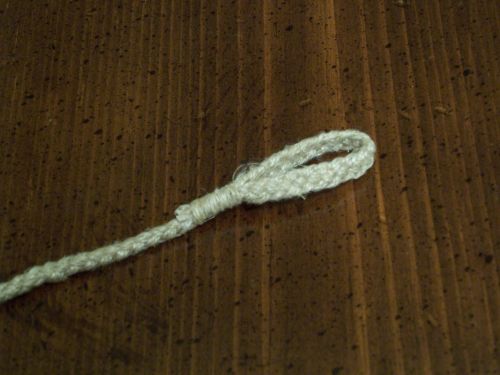
Here is the finished loop.

Now go back and braid the other cord. Make it a little longer than the first cord.
Grip the sling the way you would when you will use it to find out where to end the release cord.
Pull the braiding tight and choose one string from the braid to use to tie around the braid.
Make a fold in a separate piece of string and lay it against the braid. Then wrap the selected string from the cords around this fold as shown.
Put the end of the wrapping string through the folded string.
Pull the ends of the folded string until the wrapping string is all the way through the wraps. Then pull the end of the wrapped string very tight as shown above.
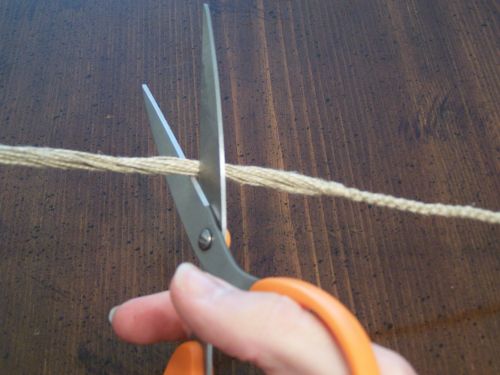
Cut of the extra length of cord strands, leaving a short tassel.
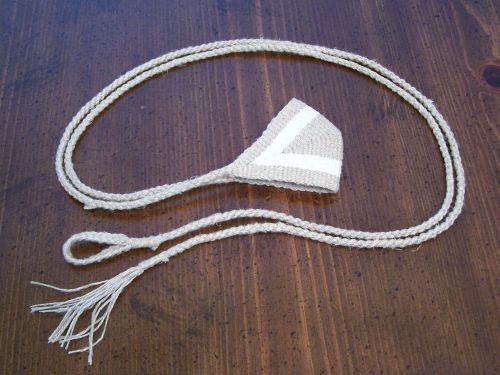
The sling is now completed!
"So David prevailed over the Philistine with a sling and with a stone..." I Samuel 17:50
Home About Information & How To's Products Gallery Links Contact
Copyright by Timothy Potter