Home About Information & How To's Products Gallery Links Contact
Tut Tutorial II
Contents:
Step 1: Warping the loom.
Step 2: Weaving the pouch.
Step 3: Tightening and finishing the pouch.
Step 4: Cords, loop, and finishing
Step 3: Tightening and finishing the pouch.
Tightening the pouch is, at least in my opinion, the hardest part of making this type of sling. It is also time consuming, and can be painful on the fingers, but there are a couple of advantages to this method. First, it allows the pouch to be woven flat, which makes weaving relatively fast and easy. Second, when the warps are tightened, the weft is brought densely together and this makes the pouch more durable. Unlike in my first tutorial, the tightening here is done from the center of the pouch towards the ends. That way, you don't have to pull so much slack through at a time.

The first step is to remove the pouch from the loom. Try not to tangle up all the loose ends coming out of the pouch when removing it. Begin by untying the warp ends. If the warp was made tightly, it will probably be necessary to take the pouch off a little at a time working from both sides of the loom.
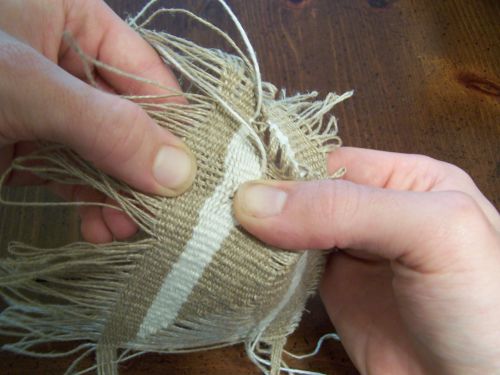
Although it is not completely necessary, it can be easier to tighten the pouch if the weaving is pushed together first. Here you can see the weaving being worked together.
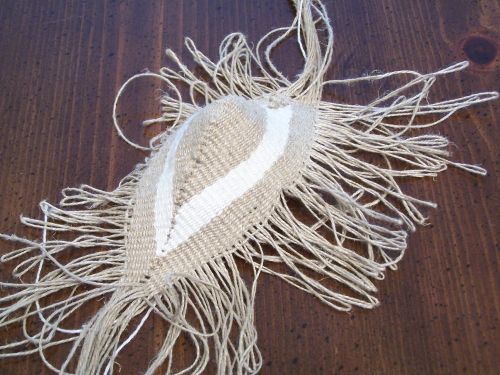
Here you can see what it looks like when the weaving has been pushed together, with the extra warp material forming loops along the edges of the pouch.
To begin the actual tightening process, locate the center warp. You can see the rows formed by the weft going over the warp, and since there are 51 warps, if you start at one end, and count towards the center, the 26th warp is the center one. When you look at this warp at each edge of the pouch you will see that parts of two loops go into it, one on one side and one on the other. In the picture you can see that the tightening is done on from both edges of the pouch at the same time, and for this first warp, make sure that the loops you pull are both from the center and both towards one end of the pouch. The most important thing when beginning to tighten the pouch, and indeed throughout the tightening process, is that you need to pull only on the back of a loop. In the picture above you can see how I am pulling from one side of the loop so that I am only tightening from that side. If you think of starting at the middle and working towards one end, then the part of the loop towards you is the back of the loop and the other is the front. If you simply tug on a loop and tighten both the back and front of it, you will tighten the loop ahead of where you are working, and then it will be very difficult to get hold of that loop to tighten it. If at any time you find it too hard to tighten with you fingers, a pair of pliers can be helpful to start tightening a pair of loops.
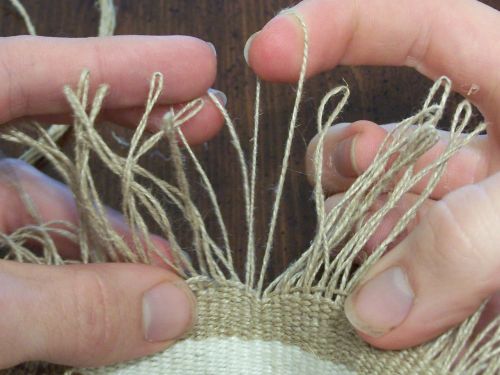
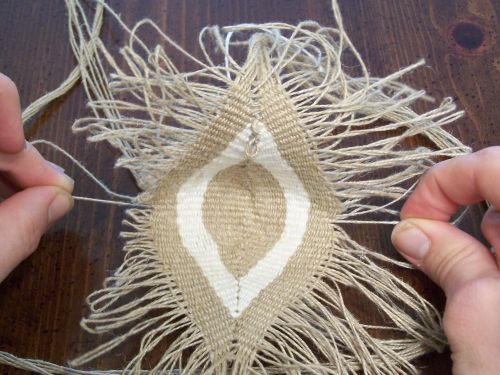
Here is a view of one edge of the pouch after the center warp has been tightened. My right index finger is holding the loop whose back was pulled to tighten the center warp, and my left index finger is holding the next loop to be tightened. You can see that the front of the right loop and the back of the left loop go into the weaving at the same place. It is a good idea to learn what this looks like so that when you are tightening you can easily identify the next loop to be tightened. Also in this picture you can see how much of an indentation is made when the warp is tightened.
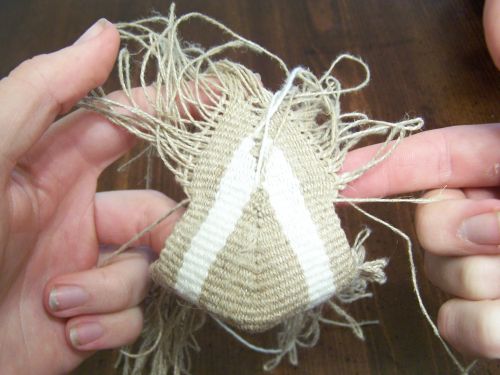
Here you can see several loops have been tightened. It is important to tighten each pair of loops with the same tension so the edges of the pouch are straight and not crooked. Each time you tighten a pair of loops watch as you pull tighter and tighter, and when it looks like it lines up with what you've already done, than stop pulling.
Continue tightening until you reach the end of the pouch. When you get to the end of the pouch, don't cut off the long warp strands that you have ended up with because they will form part of the cords.
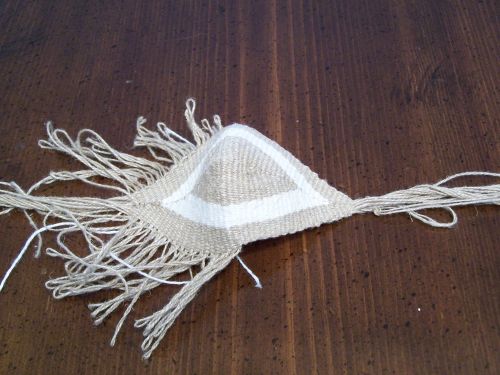
The other half of the pouch is done just like the first, but it is important to tighten it the same amount as the first half so it doesn't come out wider or narrower. Above is a picture of the fully tightened pouch.
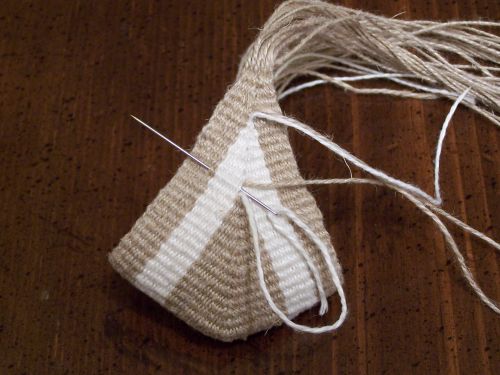
To finish the pouch all the ends that stick out of the pouch where the color changes are need to be sewn in. To do this, thread the weft tail on you needle, and push the needle into the weaving so that it follows the warp for a short distance before coming out of the weaving again as illustrated.
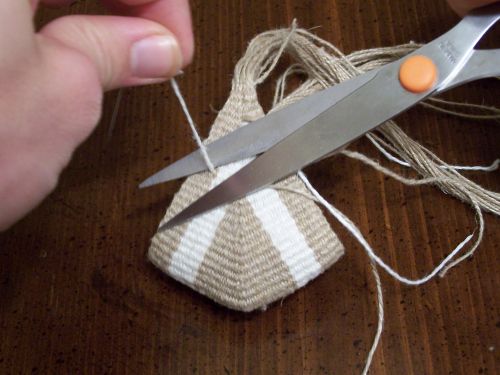
Pull the needle through and then pull the weft tail tight and cut if off close to the weaving. If you pull it tight when you cut it, it will tend to spring back into the weaving and will not show much at all.
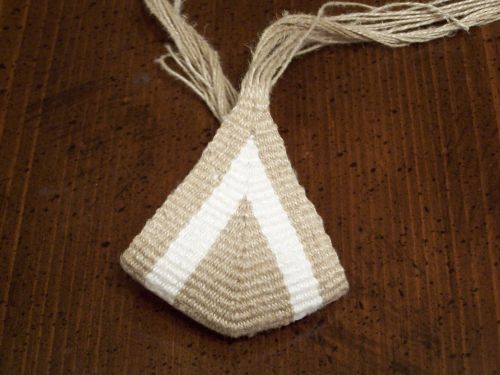
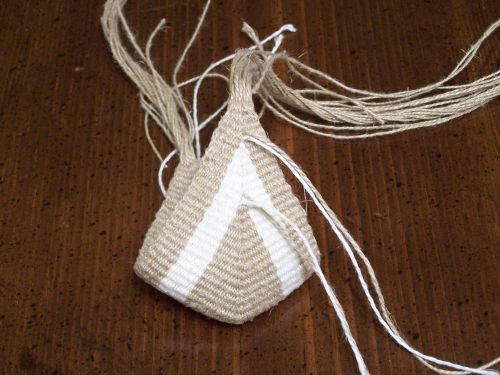
Here you can see the finished pouch.
"So David prevailed over the Philistine with a sling and with a stone..." I Samuel 17:50
Home About Information & How To's Products Gallery Links Contact
Copyright by Timothy Potter